


 Braces guide
 Comparisons
 Guest posts
 Straight Teeth TV
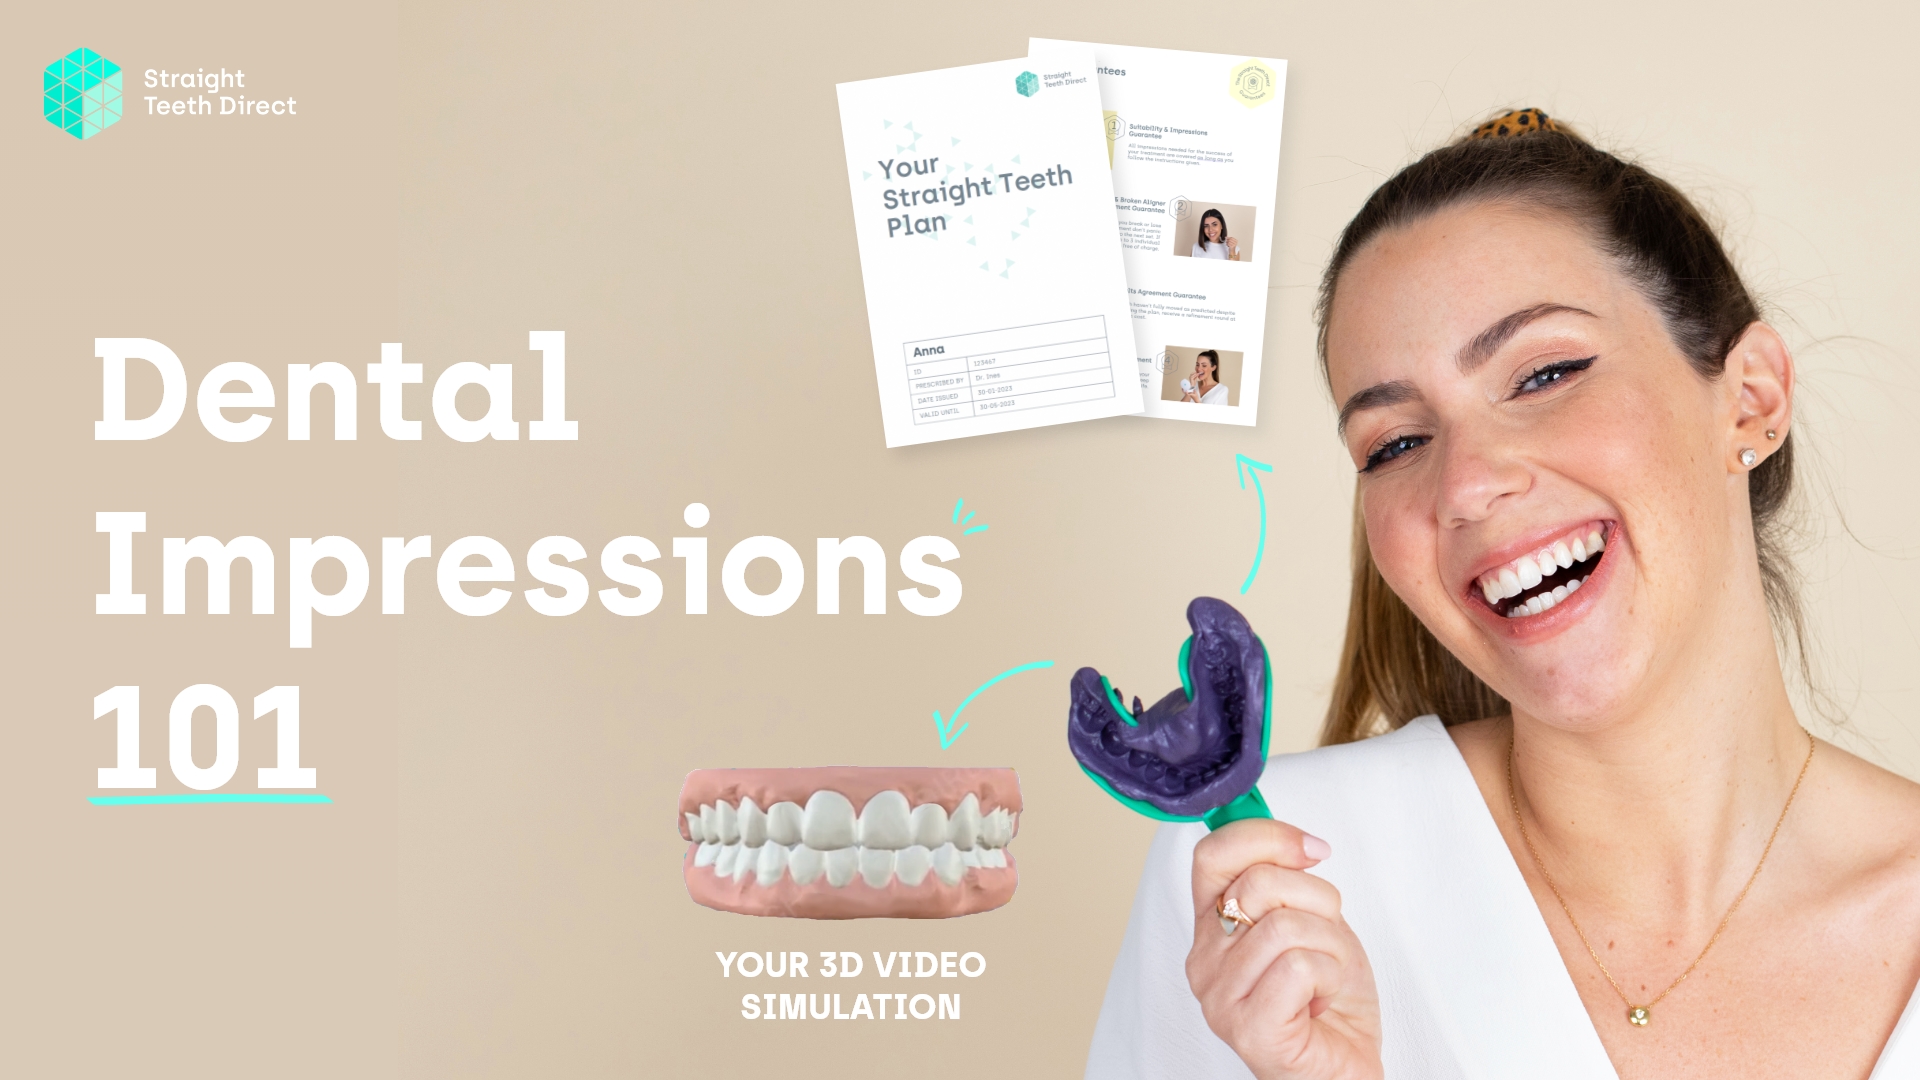
 Aligners at home
Dental impressions for teeth straightening
Many of you ask us about:
- how your impressions are used;
- what the procedure is to create your treatment plan;
- how long you’ll need to wait for it;
- Why dental impressions are even necessary in the first place.
In this blog we’ll answer all these questions. So let’s dive right in!
Why do we need dental impressions for invisible aligners?
For any teeth straightening treatment, your orthodontist first requires a digital 3D rendering of your actual current dental structures. This means they have the size, position and shape of your teeth accurately captured so as to be able to analyse your current mouth. Then perform analysis and calculations to see what movements could be possible to achieve the desired goal. From there, a specialised software is used to shift and rotate each tooth separately until the desired position is reached.
There are two ways to capture impressions of your teeth:
- Intraoral 3D scan;
- Physical dental impression.
The intraoral scan bypasses the need for an impression kit by taking accurate pictures of your dental structure and immediately digitising it. These are high resolution multi angle images of your teeth that are then used to calculate the exact 3D shape of each tooth in a fast and safe way. As we are a fully remote service facilitating treatment for users all around the world, we don’t have a 3D scanning facility.
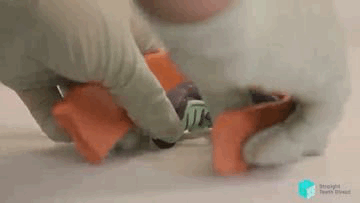
Physical dental impressions are made using a tray and specialised putty, which you bite into for 3 minutes until it sets, creating a perfect cast of your teeth. The procedure is the same for in-clinic and at-home methods. If you’re worried about getting your impressions wrong, don’t be! You’ll receive a guide, tutorial videos and in-app assistance to make sure everything goes smoothly. So far, 90% of impressions returned to us have been suitable for simulation, and in the unlikely event that they’re not quite good enough, you’ll receive a custom impression kit free of charge, ensuring that you get it right the second time around. Besides, dentists also get impressions wrong from every now and again 😉
SmileBox at home dental impression kit
Still on the fence about whether or not to buy your SmileBox dental impression kit? Make sure to check out this unboxing blog for an in depth explanation of the contents.
In short, your teeth impressions kit contains:
- An Impression Manual, with a step by step guide and tips and tricks for making your impressions
- 1 pouch with nitrile gloves
- 1 pouch with 6 impression trays: 3 for the top arch, 3 for the bottom arch
- White and purple putty to mix and form 6 impressions (6 white, 6 purple)
- Plastic bag for return shipping
- Return shipping label (prepaid by us, just hand over to DHL and they’ll do the rest)
- Return shipping envelope
All of this for only £69! To order, click [ORDER SMILEBOX™] in your app account. After you’re done making your impressions, they’re sent back to the lab, which is where the magic happens…
Digitising your teeth imprints
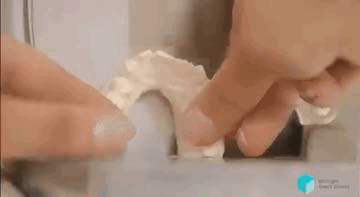
Think of your dental impressions as the negative of a picture. They need developing to recreate what was captured through the camera. Here the goal is to digitally capture the exact shape and size of your teeth. So, the first step is always using the impressions to cast a physical model.
This is done by tightly wrapping the impressions in putty to avoid spillage, before pouring resin inside. Once the resin is set, we are left with the positive picture – accurate models of your teeth.
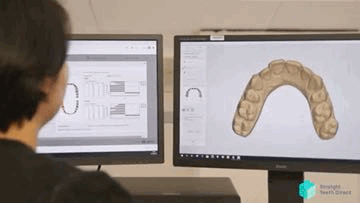
To digitise the models, they’re first cleaned up and polished, then clamped inside a special mount which registers the bite and placed into the 3D scanner.
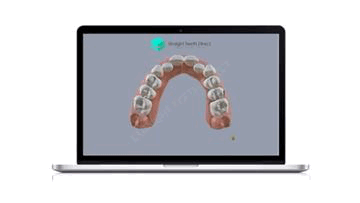
We’re then left with an accurate digital replica of your teeth inside the orthodontic computer system. Your assigned orthodontist can now begin creating your treatment plan.
Fine tuning your smile
Once the digital model of your teeth is imported into the specialised software, the clinical team starts getting to work on mapping the exact location and angle of each tooth. This allows them to properly analyse your current dental situation and see which areas need correcting to create your straightest smile. By isolating every tooth, they can each be individually adjusted into their optimum position.
Apart from the position of your teeth, your assigned orthodontist takes into account a multitude of other factors, such as tooth shape and thickness, arch width, your centrelines, areas in between your teeth, and your dental records (x-ray showing your roots). These all factor into and determine how your final result will look, which is why you’ll receive a 3D simulation video of your transformation and results along with your Straight Teeth Plan. It’s important for you to know what to expect before committing to any treatment 😉
Your treatment plan and 3D simulation
It will take about 15 working days or so to finalise your treatment plan after receiving your impressions. This may seem like a long time, but remember that your smile is as unique as your fingerprint. No two smiles are the same, meaning that there is no one-size-fits-all solution. Every straight teeth journey is tailored to your individual needs and dental structure, ensuring that you get the comfortable, effective treatment you deserve!
Alongside your 3D smile simulation video, you will receive your Straight Teeth Plan, which is a full report containing information on the expected duration of your treatment, your diagnosis and personal expectations.

It’s so important to be transparent when it comes to any medical procedure. Unlike most in-clinic orthodontic procedures and other at-home solutions, your report contains much more information and is dense with highly detailed information specific to your case alone. The reason for this is that you should have absolute confidence in the fact that this treatment is right for you, and the more knowledge you have of your own case before committing, the better.
Did we answer all your questions on dental impressions?
Remember that you can always ask any extra questions you may have through the message centre in your app account. You’re in direct contact with the customer support and clinical support teams, who know everything about your case and will be more than happy to clear up any doubts.

Still thinking about it?
Fill in your email to receiveyour free guide!